- From Web Admin, select the desired Request category
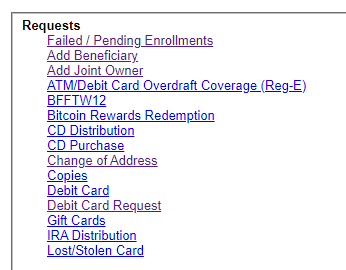
- Click on the blue link (Reference Number) to open the request

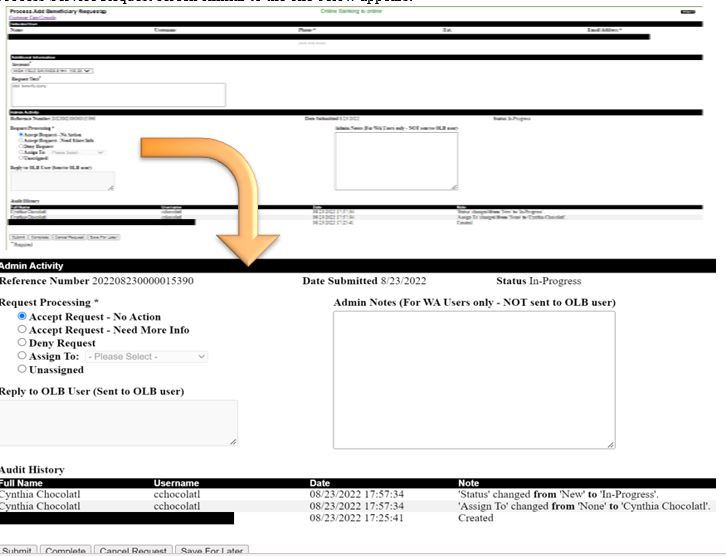
- A Process Service Request screen similar to the one below appears
- Create the Hubspot ticket for the request
- Select the appropriate Request Processing based on the type of request
- Accept Request – No Action
- Example: Check Order, Beneficiary Request, or Lost/Stolen Card
- Accept Request – Needs More Info
- Type into the Reply to OLB User box, “See Secure Message”
- Send an OLB message with more information to the client
- For example: Change of address request, CX will send the client what documentation is required, OR Joint Owner Request, CX will send the client what documentation and information is required to complete the process
- Deny Request – Not typically used, send a secure message to the client if you deny the request with the reason and alternative if applicable
- Assign To – CX Team does not typically use this option
- Unassigned -CX Team does not typically use this option
- Accept Request – No Action
For Accept Request – No Action, Select Complete
For all other options, Select Submit
- Select Print
- Take a screenshot of the Print Preview and paste it into the Hubspot ticket
- Audit History – CX MUST include this screenshot portion within the Hubspot ticket for auditing purposes, it is the section at the bottom of the print preview
| Full Name | Underneath this column, you will see the client’s name and the CX team member who has been addressing it |
| Username | The client’s username |
| Date | All of the time stamps of the activity |
| Note | All the activity and status of the request form |
- Complete the Hubspot ticket and send it to DBO if required